

Firearm shipping is different because two rulebooks have to agree: what’s legal under federal and state law, and what your carrier will actually accept at the counter. If you’ve ever gotten three different answers from three employees, or watched a perfectly taped box get turned away after you waited in line, you already know how messy this gets in the real world.
The tension is simple: legal does not automatically mean allowed by a carrier, and fast and easy is not the same thing as compliant and documented. Federal law has shipment-specific requirements under the 18 U.S.C. § 922 framework and ATF regulations in 27 C.F.R. Part 478, so “normal package rules” are not enough when a firearm is involved.
It gets trickier because policies change. The only versions that matter are the current official sources, including UPS’s “Shipping Firearms” page, the FedEx Service Guide, and USPS Publication 52 and the DMM, so you can confirm you’re following today’s rules, not last year’s forum post.
This is practical guidance, not legal advice, and you should always confirm the current requirements before you ship. Shipping often ties to a sale or transfer, and loss or damage in transit is a real possibility, so decisions like coverage and insurance are part of the stakes. Before you tape a box shut, you’ll run the same simple sequence every time and ship with end-to-end confidence.
That sequence starts with legality, because your destination and recipient determine almost everything else that follows.
Step 1
Legality is a routing problem, not a packing problem. Three questions decide your legal lane fast: what the item is under federal law, whether you’re a Federal Firearms License (FFL) holder or a nonlicensee (non-FFL), and whether the shipment is staying in-state or becoming an interstate transfer across state lines.
- Identify what you’re actually shipping (including whether the frame/receiver is the regulated item).
- Confirm whether you’re shipping as a Federal Firearms License (FFL) holder or a nonlicensee (non-FFL).
- Check whether this is an interstate transfer (across state lines) and plan for a receiving FFL when required.
- Choose the legally allowed destination path (ship-to-FFL for most cross-state sales; ship-to-licensee for repair/consignment; avoid direct-to-nonlicensee cross-state shipments).
Start by classifying the item correctly under the Gun Control Act. Federal law defines “firearm” to include not just complete guns, but also the frame/receiver, plus silencers and destructive devices, and it excludes “antique firearms” from that definition (18 U.S.C. § 921(a)(3)). That’s why “it’s just a stripped receiver” is not a loophole, the receiver is the controlled firearm under federal law.
The second and third questions are where people get burned: crossing state lines changes the rules fast. As a baseline, a nonlicensee generally cannot transfer, ship, or deliver a firearm directly to a nonlicensee who resides in another state, and the common compliant route is to send it to an FFL in the recipient’s state so the buyer can receive it through the dealer (18 U.S.C. § 922(a)(5); 18 U.S.C. § 922(b)(3)). Related to that, nonlicensees are generally restricted from receiving or bringing into their own state firearms they acquired out of state, outside narrow exceptions (18 U.S.C. § 922(a)(3)).
There’s also a clean lane that surprises people: a non-FFL can ship a firearm across state lines to a licensee for sale/transfer, repair, or consignment (18 U.S.C. § 922(a)(2)(A); 27 C.F.R. § 478.30). The buyer still takes possession only through the receiving FFL’s transfer process, which typically means ATF Form 4473 and a NICS check unless an exception applies (18 U.S.C. § 922(b)(3); 27 C.F.R. § 478.96).
If anything feels fuzzy, pause before you spend money on labels or packaging. Call the receiving FFL or the manufacturer doing the work, confirm they’ll accept the shipment, and ask for the high-level state and local tripwires they see most often. If the item is NFA-regulated (including suppressors, SBRs, machine guns, AOWs), treat it as a different compliance lane and get professional confirmation before you ship.
Once your destination path is solid, the next place shipments tend to fail is simpler: the carrier may still refuse the box if you show up with the wrong service or at the wrong counter.
Step 2
Carrier policy is the part that gets packages refused. You can be doing everything legally, then hit a brick wall because you showed up at a retail counter that is not allowed to take firearms, or you picked a service level the carrier restricts for that item type. Yeah, it’s annoying that the person behind the counter can’t just “make an exception,” but their scanner and their rulebook decide what moves and what gets turned away.
- Match your item type to what the carrier will accept (USPS long gun mailing vs handgun limits; private-shipper limits with UPS/FedEx).
USPS Publication 52 and DMM 601 allow unloaded rifles and shotguns to be mailed, including by a non-FFL shipper to an FFL (licensed dealer) for lawful purposes. Handguns are the hard stop for most people, USPS treats pistols as nonmailable for the general public.
Private carriers get stricter fast on handguns and “firearm-like” items, and they often treat frames and receivers as firearms under policy, so don’t assume you can route around the rules by shipping “just the lower.” - Confirm you can use the carrier as your shipper status allows (FFL vs non-FFL constraints per carrier policy).
UPS spells its rules out on its Shipping Firearms page and in its Tariff and Terms. In practice, shipments generally run through approved account channels, and handgun shipping is where you’ll see the tightest requirements, including pre-approval and service limitations.
FedEx is even more blunt in its Service Guide: firearms are a controlled commodity, generally accepted only between federally licensed entities or government, and only under an approved account or arrangement. - Pick an allowed tender method (approved staffed facility or pickup-not franchise/partner counters or drop boxes when prohibited).
This is the “wrong place” trap. UPS firearm shipments are not tendered at The UPS Store, UPS Access Point, or Drop Boxes, they go through approved staffed facilities or pickup. FedEx similarly restricts firearms from FedEx Office, OnSite, and drop boxes, and requires an approved pickup or authorized staffed facility.
If you want convenience, this is where using a licensee-provided label can simplify the handoff (see common shipping and logistics questions), some services like Cash My Guns route shipments through an FFL channel so you are not improvising at a retail counter. - Choose a service level that meets the carrier’s firearm requirements (note that handguns often have stricter service constraints).
Speed and cost are not always your choice here. Carrier policies commonly force faster, tighter-controlled services for handguns, while long guns usually have more flexible options, as long as you are tendering them the approved way.
Before you pay for a label or drive across town, pull up the carrier’s current firearms page or service guide that same day and confirm two things: you’re eligible to ship under their policy, and you have a permitted staffed drop-off or pickup option. Policies change, and “the internet said it was fine” won’t get a refused package moving.
Carrier fit gets you to the right counter; coordination gets your box accepted on arrival and processed without delays.
Step 3
Most shipping headaches aren’t about tape or labels, they happen because the receiving FFL or manufacturer wasn’t ready for your package. That’s how you end up with a “mystery box” that gets refused, returned, or parked on a shelf while someone tries to figure out who sent it and why.
- Call the receiving FFL/manufacturer and confirm they’ll accept the shipment from you (or if they require an FFL-to-FFL shipment).
- Request any required RMA, work order, or inbound instructions so it’s identifiable on arrival.
- Include the right info inside the box (your name/address, contact info, and any requested documents) so intake can match it to the job/transfer.
- Save your own records (copies of emails/RMA, photos, serial number note, and tracking) in one place.
The operational reason this matters is simple: the receiving shop has to log the firearm into their A&D record (bound book) quickly, and they need clean sender details to do it right. Under 27 C.F.R. § 478.125(e), an FFL must record each firearm acquisition no later than the close of the next business day after receipt. If you’re shipping as a nonlicensee, that same regulation requires the acquisition entry to include the transferor’s name and address, meaning your name and address need to be unambiguous on the paperwork they’re using to intake the gun (see this guide to legal and safe firearms sales for the compliance context). Get acceptance and inbound instructions in writing before you seal the package, it keeps your shipment from sitting in limbo.
Once the recipient is ready for it, packaging is what keeps the firearm protected, immobile, and uninteresting to anyone handling the box.
Step 4
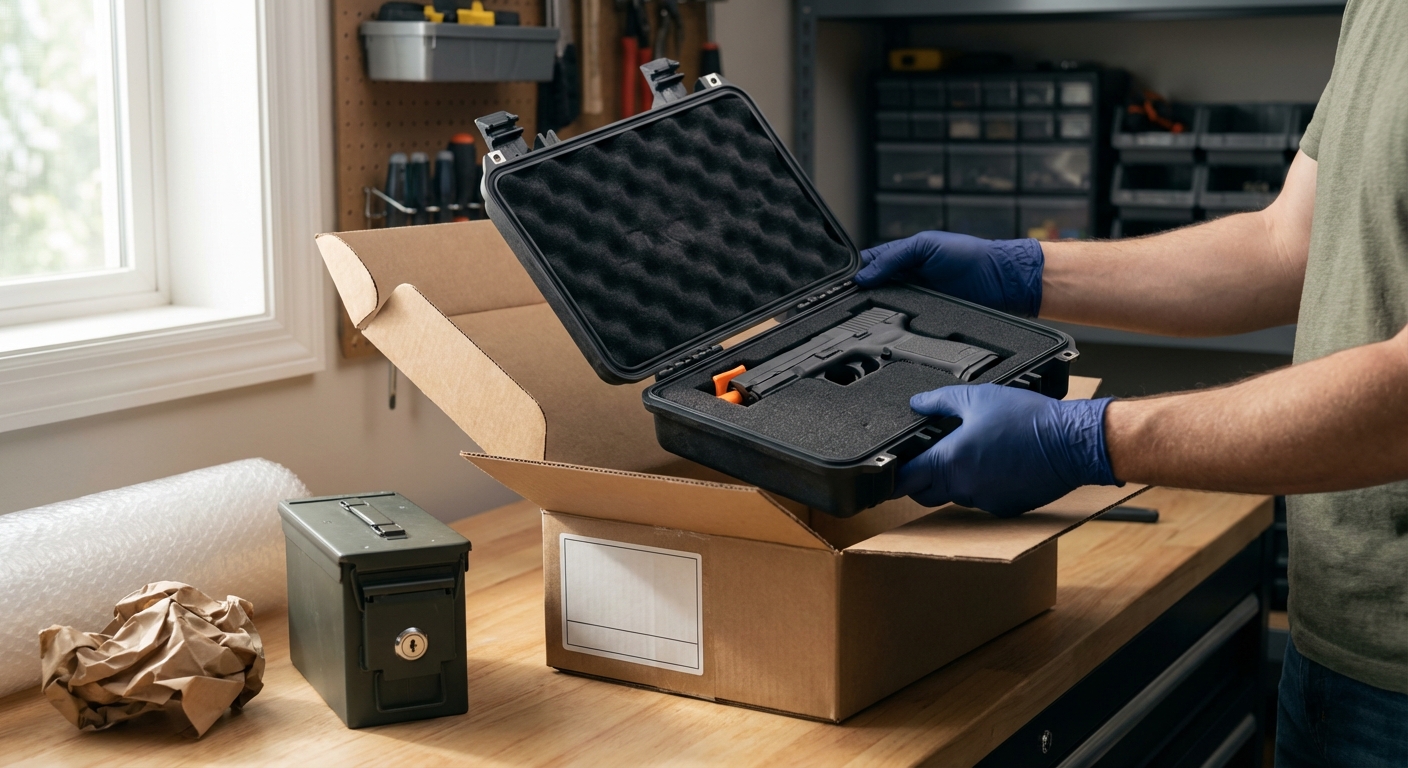
The safest shipment is the one that can’t fire, can’t move inside the box, and doesn’t advertise value. Most real-world “shipping disasters” come from three things: a gun that wasn’t truly cleared, parts rattling into the finish, or packaging that screams “steal me.” Discreet outer packaging is a common best practice for reducing unwanted attention.
- Unload the firearm and double-check the chamber (visual + physical check). USPS Publication 52 requires firearms mailed through USPS to be unloaded, and USPS can require you to prove it by opening the parcel or providing written certification for a rifle or shotgun.
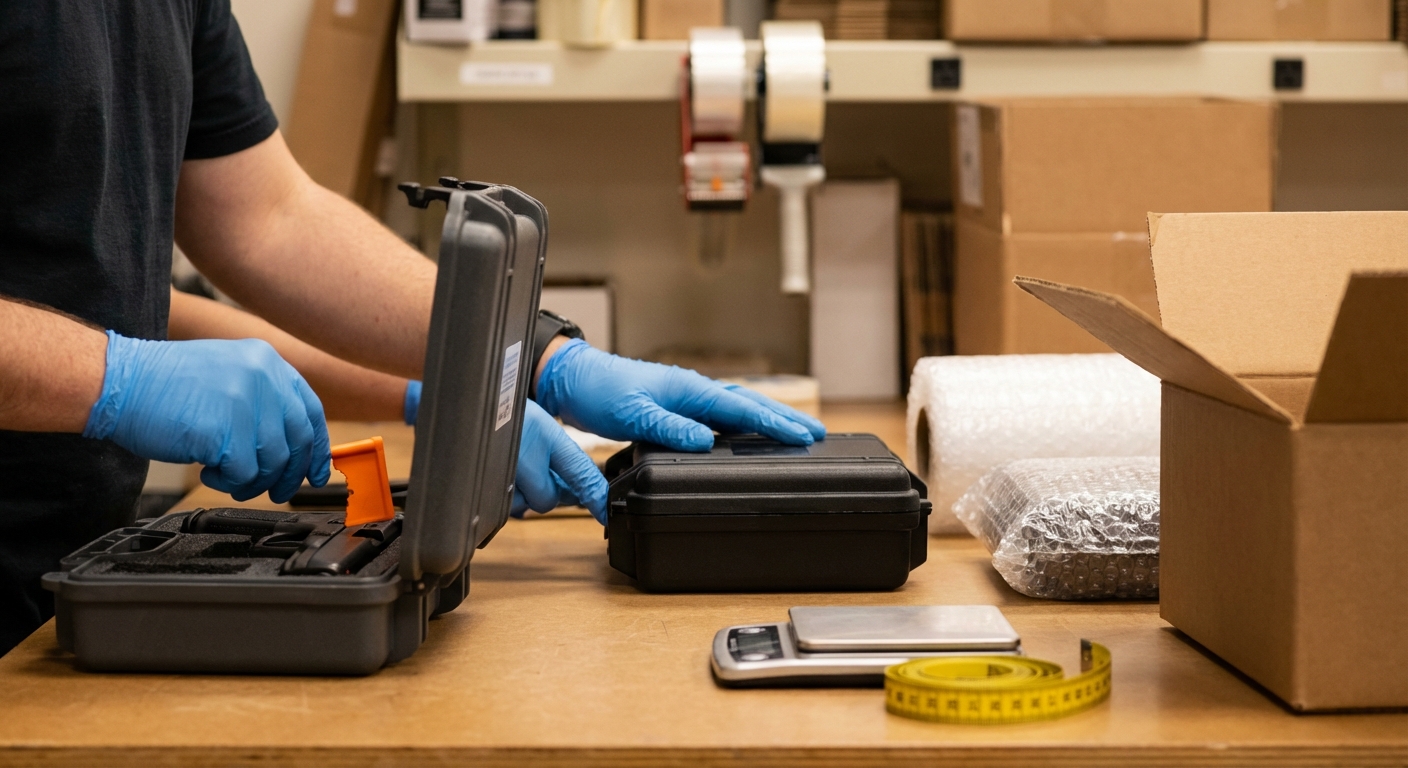
- Separate magazines, bolts, and accessories that could scratch or impact the gun in transit. Pull the magazine(s) out, remove the bolt (where practical), and bag small parts so they can’t bounce around and peen an optic tube, ding a crown, or chew up your finish.
- Protect vulnerable parts (optics, sights, wood stocks) with padding and covers. Cap turrets, use a scope cover if you have one, and pad contact points with foam or bubble wrap. Wood stocks and sharp sights hate hard impacts, so make sure nothing rigid is pressing on them.
- Immobilize the firearm in a hard case or tightly packed inner box so nothing shifts. Your goal is zero movement. If you can shake the inner package and hear or feel anything slide, add more foam, cardboard blocks, or tightly packed padding until it’s locked in place.
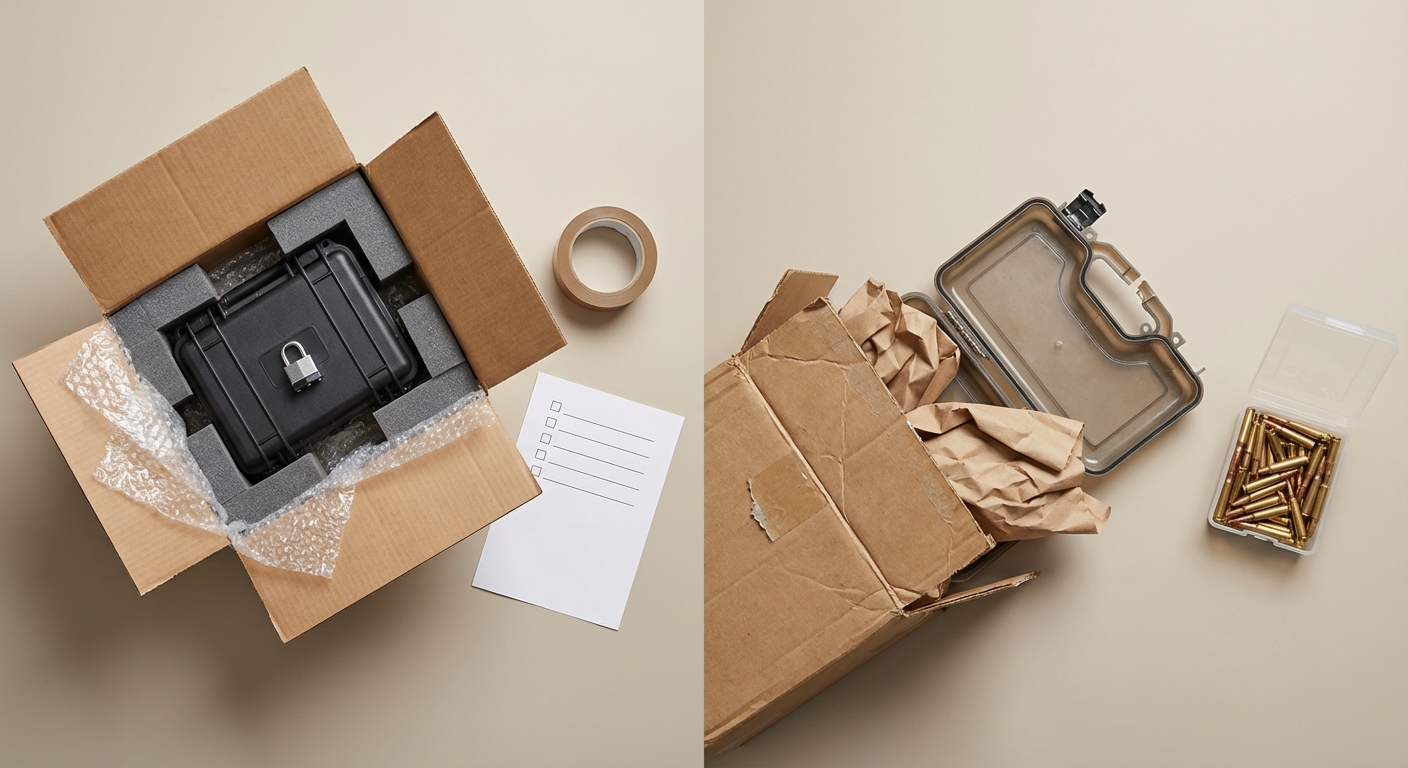
- Double-box with a plain outer carton and strong tape so it arrives intact and discreet. Use a plain, unmarked outer box, tape every seam, and eliminate rattles. A tight, quiet box is harder to damage and less interesting to thieves.
- Ship ammunition separately (and only using compliant hazmat methods when applicable). Do not include ammo in the same USPS firearm parcel, USPS Publication 52 makes ammunition nonmailable. For carriers that do accept it, ammo ships under Limited Quantity (hazmat) rules, which typically means ground service plus specific packaging and exterior markings. UPS accepts “Cartridges, small arms” (UN0012) and blanks (UN0014) as Limited Quantity for domestic ground when properly prepared and marked. FedEx accepts “Cartridges, small arms” (UN0012) as hazmat via FedEx Ground, not Express, when properly packaged and marked as Limited Quantity.
Best practice for “inside vs outside info”: put any notes (contact info, RMA, order number, receiving instructions) inside the box, and keep the exterior plain. Carriers and receiving FFLs generally prefer discreet cartons that don’t hint at contents, and you avoid creating a theft target. If it can’t fire and can’t move, you’ve done the hard part.
At that point, you’re down to execution: buy the right label through the right channel, tender it the right way, and keep the documentation tight (see this step-by-step guide to packaging and shipping a firearm for a practical checklist).
Step 5
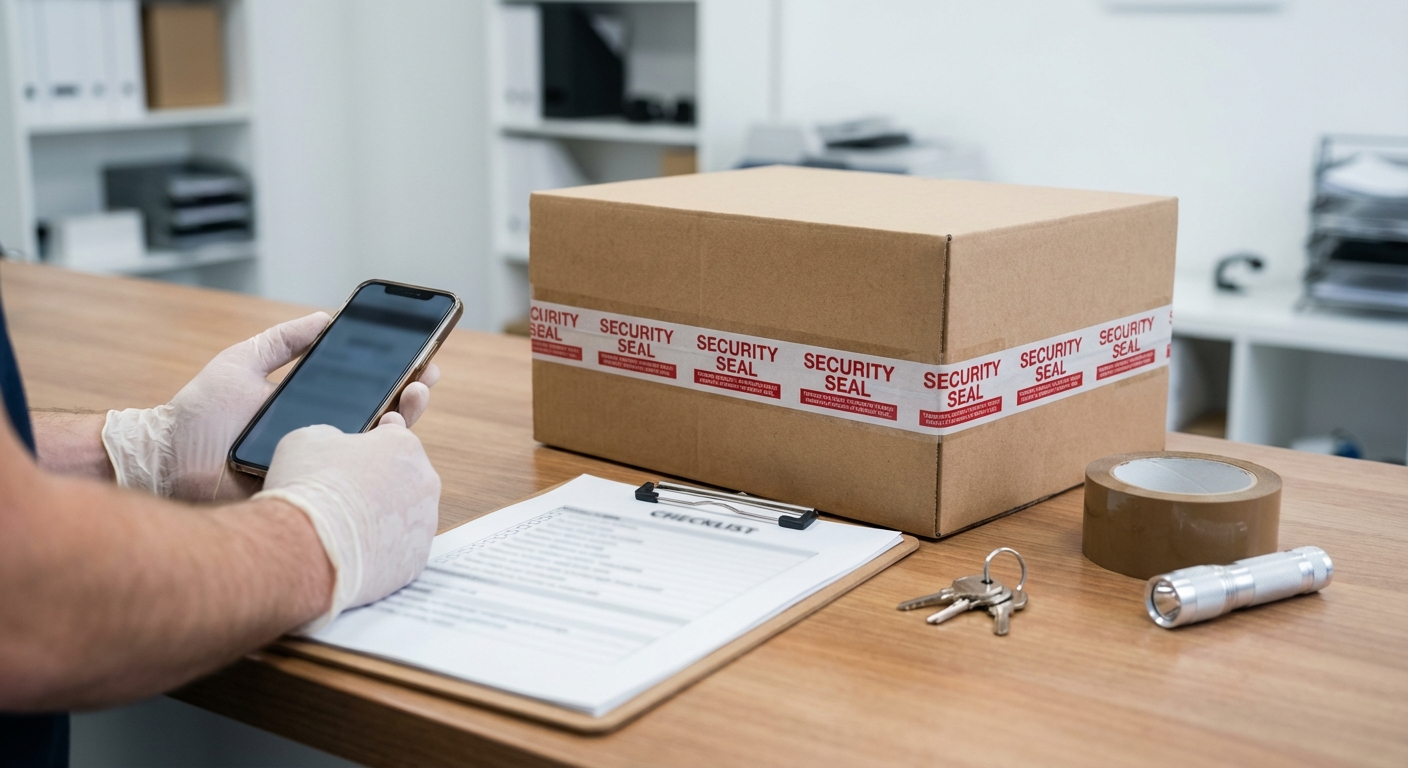
Execution plus documentation is what saves you when something goes sideways. The cleanest shipments are the ones that are declared correctly when required, tendered the right way, and documented end-to-end.
- Purchase the label through your approved channel (account/FFL workflow as applicable).
- Declare the shipment to the carrier when written notice is required under federal law and/or carrier policy.
- Select signature options that reduce misdelivery risk (Adult/Direct where available) and remember e-signatures won’t satisfy Adult/Direct requirements.
- Tender the package through the approved acceptance method you confirmed in Step 2.
- Track delivery and save proof (receipts, tracking events, delivery confirmation) in one folder.
The most misunderstood part is “notice.” Under 18 U.S.C. § 922(e), it’s unlawful to deliver a package containing a firearm or ammunition to a common or contract carrier for interstate or foreign shipment to a person other than a federally licensed importer, manufacturer, dealer, or collector unless you give the carrier written notice that it contains a firearm or ammunition. By its terms, that written-notice requirement is tied to shipments to non-licensees, so it does not apply, by its wording, when you’re shipping to one of those federal licensees. Practically, tell the carrier what you’re required to tell them, and keep the outside of the box plain and unbranded.
Signature controls are where preventable losses happen. If your label supports Adult Signature or Direct Signature, use it, and plan for the fact that electronic signatures can’t be used when Adult or Direct is required. Then document like you’ll need to prove it later: label receipt, tracking page, photos of the sealed box, and the delivery confirmation in one folder.
Before you hand the box over, decide on declared value. Declared value is the lever that increases carrier liability coverage to a stated limit for an added charge, subject to terms, and it has to be set on the shipment upfront. For a concrete example of the full workflow, see this step-by-step firearm shipping process (labeling, sending, and tracking). For example, UPS increased liability can be increased up to $50,000 per package by declaring value (subject to terms).
Troubleshooting and final checklist
Most firearm shipping problems are predictable and fixable. Almost every “something went wrong” traces back to four failures: you tendered it at the wrong place, you used a carrier service that will not take that item, you did not coordinate with the receiving FFL, or you do not have the paperwork trail to prove what happened.
The fastest fix is usually changing where you hand it over. A common example is trying to tender at a franchise counter that carrier policy doesn’t allow for firearms shipments, even if the label itself looks correct.
If a counter says “we can’t take this,” ask where that carrier requires firearms to be tendered, then re-tender at the correct hub or approved location. Also confirm the receiving FFL will accept shipments from you, some will only accept from another FFL.
USPS will not accept handguns for mailing from non-FFL shippers. If you are a private individual trying to mail a handgun, the counter refusal is expected.
For rifles and shotguns, USPS practice can surprise people: they may require you to certify in writing that it’s unloaded and legally mailable, or they may allow inspection (opening the parcel) to establish that.
Do three things in parallel: check tracking for the last scan, contact the carrier with the tracking number, and notify the receiving FFL so they can watch for an attempted delivery or a hold.
Start with the carrier and loop in the receiving FFL immediately. Gather your receipt, tracking, photos of the package (before and after, if available), the firearm’s make, model, and serial number record, plus any emails or notes with the FFL and carrier—and confirm whether you added shipping insurance for loss or damage so you know what a claim can cover.
Also do a quick state-law tripwire check, assault-weapon restrictions, magazine limits, and permit or registration schemes can quietly block delivery. Verify with authoritative state sources and the receiving FFL.
- Tracking number and drop-off receipt
- Carrier tender location confirmed (not a prohibited retail counter)
- Receiving FFL confirmed they will accept your shipment
- Photos of the sealed box and label, plus any damage photos
- Firearm make, model, and serial number record
- All correspondence with the carrier and receiving FFL
- USPS long-gun certification or inspection readiness, if applicable
- Full insurance coverage confirmed for loss or damage scenarios
- State tripwire check completed with the receiving FFL
Conclusion
If you keep the recipient, tender method, and documentation right, most problems disappear. Your repeatable workflow stays the same every time: confirm you’re in a legal lane and shipping to a lawful recipient (often an FFL, and for interstate transfers that usually means routing to the receiving FFL), tender the package through a policy-compliant channel the carrier actually accepts (not just the “right” label), and keep documented tracking and records from drop-off to delivery. Pack safely, ship unloaded, declare as required, and don’t rely on last year’s rules, gun laws and carrier firearm policies change, so re-check current federal, state, and local law plus the carrier’s official policy before you ship.
To put it into practice, pull up the carrier’s current firearm policy page and coordinate the receiving FFL’s exact intake instructions, or start with Cash My Guns (operated by Dunlap Gun Buyers, an FFL) if you want a Safe, Legal, Hassle-Free mail-in sale.


")


")
