


You found a buyer, agreed on a price, and then you hear it: “You can’t just meet up and sell it in California.” Suddenly the whole deal feels like one tiny mistake could blow it up.
The frustration is real: you’re juggling time, paperwork, and the awkward part of finding a serious buyer while also worrying about accidentally doing something illegal. The trap is that a lot of people assume a private sale works like other states: handshake, cash, done. In California, most firearm sales and transfers generally have to be processed through a California-licensed dealer, an FFL (Federal Firearms Licensee) who’s authorized to run and record the transaction instead of you “selling to a stranger” directly. That’s where the core tension sits: you want convenience and speed, but California requires a compliance-first process with paperwork and a built-in delay. Even when everything is clean, California’s 10-day/240-hour waiting period starts when the dealer submits the DROS, and the gun can’t be delivered before the full 240 hours elapse. The most common mistake to avoid is the direct “cash-and-carry” handoff; it’s illegal and prosecutable, often as a misdemeanor, and it can become more serious if aggravating factors apply.
Plan on doing the transfer through an FFL and budget for the 10-day/240-hour waiting period; anything else is where sellers get burned.
Step 1
Most California gun sales go smoothly when you treat legality like a two-minute pre-check, not something you “figure out later.” You’re not just asking “can I sell a gun,” you’re asking can this exact firearm be transferred in this exact way to this exact person.
California’s friction points are predictable: the transfer usually has to run through a dealer, the handgun roster affects what a dealer can deliver, and certain configurations stop a transfer cold. The fastest way to avoid wasted time is to confirm transfer method, buyer eligibility, and transferability before you list or agree to meet.
- Confirm you’re using a California FFL for the transfer (default rule). California generally requires most firearm transfers to be processed through a California FFL (licensed dealer), even when it’s a sale between two private individuals. Treat “meet at an FFL” as the baseline plan, not a backup plan.
- Verify the transfer qualifies as a Private Party Transfer (PPT) (CA residents, both present, CA ID). A Private Party Transfer (PPT) is the practical, legal workaround for a lot of common situations because the dealer processes it while you and the buyer stand there together. A PPT requires both buyer and seller to be California residents, physically present together at the same California FFL, with valid California ID.
- Check handgun roster realities (Roster of Certified Handguns) and whether your buyer is likely exempt/non-exempt. The Roster of Certified Handguns controls what handguns a dealer may deliver to most non-exempt buyers, and roster status is make, model, and variant specific, not “close enough.” Off-roster possession isn’t automatically illegal, and PPTs are treated differently than dealer retail sales, which is why an off-roster handgun can still be transferable in a true PPT even though a dealer generally can’t sell that same off-roster model from inventory to a typical buyer (see Penal Code §§ 32000, 32110(a)). California dealers are restricted to selling only handguns that appear on the roster, which limits availability of newer models.
- Screen for obvious non-transferable configurations (assault weapon/.50 BMG/large-capacity magazine issues) at a high level. Do a quick “will this get rejected at the counter” scan: assault weapon definitions (PC 30510 and 30515) can make a firearm non-transferable in a normal private sale, .50 BMG rifles have their own restrictions, and large-capacity magazine transfers are a common deal-killer if a magazine is included when it cannot be legally transferred.
- Call the dealer to confirm they’ll process your specific situation and what they require to start. Dealer policies vary, including appointment requirements, what configurations they will or won’t accept for transfer, and what ID or documentation they want to see before they’ll start the transaction (and whether recent California law changes like AB 574 affect what they need).
If anything is borderline, pause and confirm with the FFL before you promise a buyer. Do the quick eligibility and transferability check before you list. If the dealer can’t deliver it, your “buyer” doesn’t matter.
Step 2
Once you’ve confirmed the sale can actually happen, the next thing that derails people is showing up unprepared. The dealer visit is much easier when you arrive with clear details and a transport setup the shop can accept without a debate.
Most “dealer day” headaches happen for two reasons: you show up without clean firearm details, or you transport it in a way the dealer can’t accept. Fix those two things and your transfer usually turns into a quick, boring counter visit, which is exactly what you want.
A California FFL (dealer) has to log specific identifying details and inspect what you brought in. If your make/model info is sloppy, your condition story changes in person, or your transport setup looks unsafe or noncompliant, expect delays, extra questions, or a flat-out refusal to proceed.
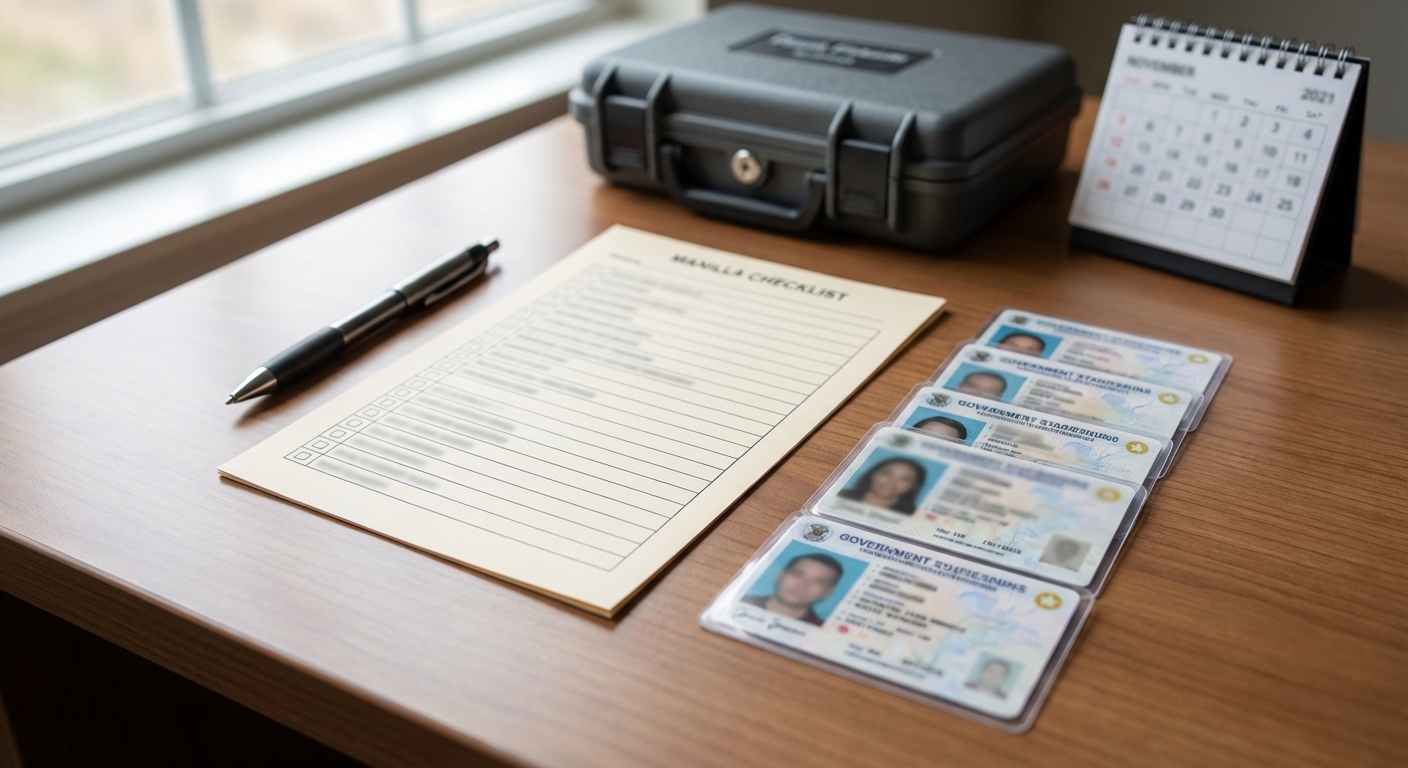
- Collect your firearm details (make/model, caliber/gauge, clear condition notes, what’s included). Write down the exact model variant, barrel length if it’s relevant to the model, and a clean list of included accessories like magazines, optics, cases, slings, and aftermarket parts. If you still have the box, manual, and factory paperwork, set it aside to bring with you (and if you don’t, see selling a gun without the original box or papers).
- Document the condition with honest photos and notes (finish wear, bore, modifications) so buyers don’t renegotiate at the counter. Take well-lit photos of both sides, the sights/optic, the muzzle, the bore (if you can safely photograph it), and any obvious wear points. Note modifications plainly: trigger work, aftermarket barrels, threaded muzzles, replaced stocks, anything that changes the gun from factory.
- Handle the serial number carefully (share only when needed; don’t post it publicly). Keep it for the dealer and serious buyers, but don’t blast a full serial number in public listings or casual messages.
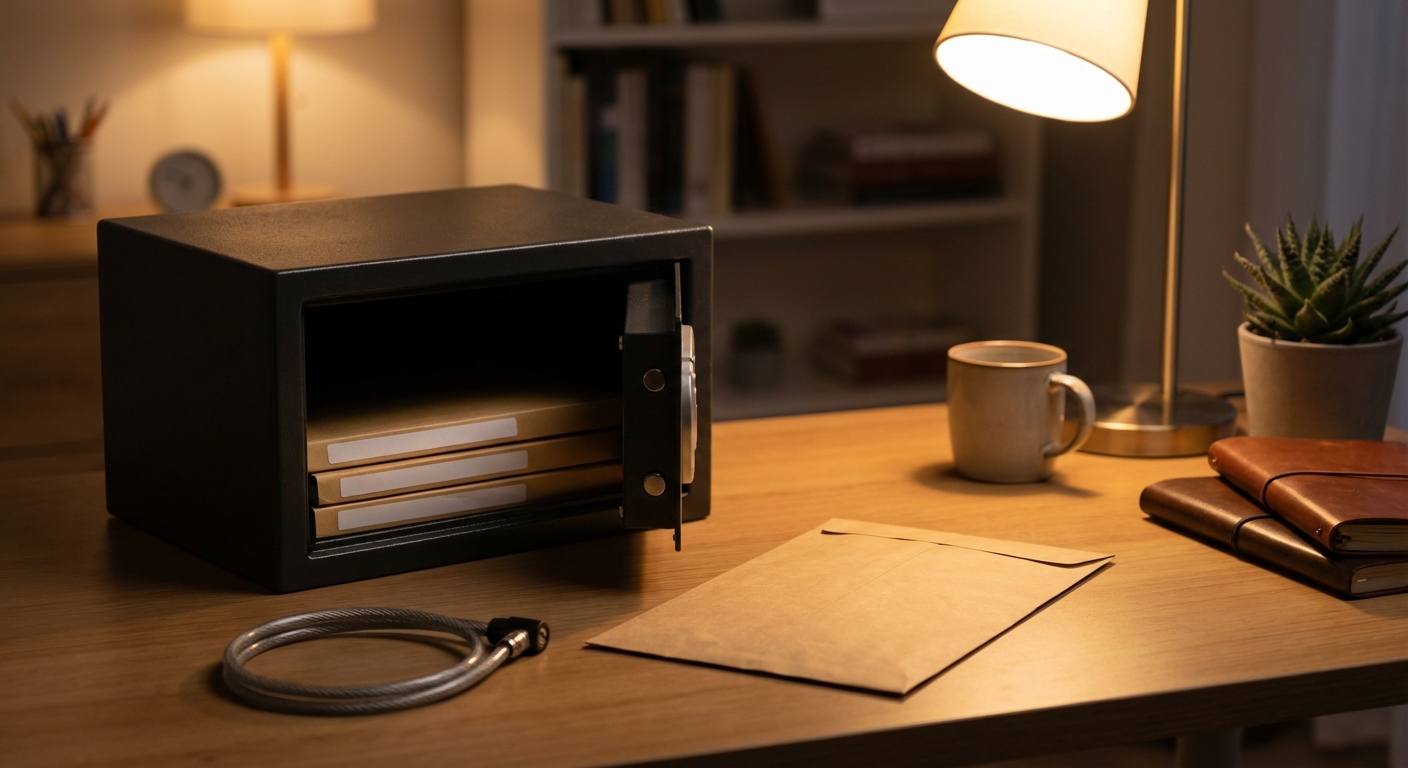
- Secure the firearm unloaded and ready for transport. Verify it’s unloaded, remove the magazine, clear the chamber, and keep ammunition separate. Store it so nobody can casually access it while you’re getting ready for the appointment.
- Transport it to the dealer legally (unloaded; handguns in a locked container or locked trunk; never glovebox/center console). For a handgun, think “locked container”: a fully enclosed case locked with a padlock, key lock, combination lock, or similar device, not a glovebox or center console, even if those compartments lock. Long guns still need to be unloaded statewide, and a locked case is the simplest way to avoid drama.
- Plan for the locking-device/safe-storage requirement so the buyer isn’t scrambling. California’s Firearm Safety Device (FSD) requirement is commonly satisfied either with a DOJ-approved locking device provided for that firearm, or via a safe/lock-box affidavit pathway. If the buyer is using the lock-box affidavit route, they need a receipt for the lock box, and the affidavit has to identify the lock box by make and model and confirm it can accommodate the firearm(s) being purchased. A qualifying safe or lock box fully contains the firearm and uses at least a mechanical or electronic locking system—review basic firearm safety rules if you want a quick refresher before the appointment.
If you can describe it clearly and transport it correctly, you’ve already removed the biggest reasons CA sales stall.
Step 3
After you’ve got the “can I transfer this?” part locked down, pricing is where the sale either moves fast or drags out. California’s rules shape availability, and availability shapes what people are actually willing to pay.
Your best price comes from matching what buyers actually pay in California, not what a few optimistic listings hope to get. The goal is simple: price the exact gun you’re transferring, in the condition it’s actually in, using sold comps you can defend. You don’t want to leave money on the table, but you also don’t want to scare off serious buyers with a number that has no support.
The nuance in California is that availability is different by design. For handguns in particular, roster status and variant details shape how big your buyer pool is and how much leverage you have on price. Treat roster checks as variant-level work, not a quick “same model name” assumption, because small generation, finish, and feature differences are often the difference between an easy sale and a smaller buyer pool on the Roster of Certified Handguns (CA DOJ roster list).
One more reality check before you put a number on it: modifications are a double-edged sword. Practical upgrades can help a buyer say “yes” faster, but heavy personalization regularly narrows your audience, especially if the buyer has to mentally price in returning it to a more factory configuration.
- Research sold prices (not active listings) for the same make/model/variant in similar condition. Use completed sales and closed auction results, then ignore the outliers that only prove someone tried a number, not that the market accepted it.
- Normalize for condition and configuration (finish, bore, matching numbers, aftermarket parts). Asking prices aren’t sold prices, and “same model” isn’t the same gun if one has visible finish wear, a rough bore, mismatched parts where that matters, or a pile of aftermarket parts a buyer didn’t ask for. If you want a clean comp, adjust your expectations until the condition story matches.
- Verify roster status at the exact variant level before you assume demand (generation/finish/features matter). In CA, availability drives demand harder than national chatter, so you’re pricing a California supply problem, not a nationwide one.
- Adjust for what can legally transfer with the gun in CA (e.g., 10-round mags vs. restricted magazines). If something can’t be part of the transfer, it can’t support your price. On the flip side, including CA-compliant 10-round magazines and transferable accessories can increase buyer convenience, which shows up as stronger demand at the same asking price.
- Set an asking price with a small negotiation buffer that won’t feel like a bait-and-switch. A tight buffer works better than a huge one in CA because serious buyers already know what clean sold comps look like, and they’ll walk if your number feels disconnected.
If you can explain your number in one breath-condition plus sold comps plus what’s actually included-you’re priced correctly. Price the exact variant, in its real condition, based on sold comps, and make sure the “included stuff” is actually transferable in CA.
Step 4
Once your price makes sense, the next decision is how you want the sale to actually happen. In California, the process runs through dealers either way, but your choice still changes how fast you get paid, how wide your buyer pool is, and how much hassle you take on.
Your “best” way to sell in California depends on what you’re optimizing for: maximum cash, the fastest exit, or the least hassle. The same gun can produce very different results depending on which path you choose.
California compliance pushes most transactions through dealers anyway, but the experience still varies a lot. The buyer pool you can reach, how quickly you get paid, how much fraud exposure you take on, and how many fees show up at the counter all change based on the method.
- Choose PPT via a CA FFL if you want maximum payout and a local buyer.
- Consider a store sale/trade if you want speed and simplicity (but expect a lower offer).
- Use an FFL-to-FFL (or ship-to-FFL) route for out-of-area buyers when legal and practical.
- Ask about total fees up front (PPT cap vs store policies vs shipping/handling) so you’re not surprised. For a PPT (dealer-processed private sale), California caps the dealer service fee at $10 per firearm, plus the DOJ DROS fee. The article lists DOJ’s published DROS fee as $31.19. Together, that makes the typical maximum dealer-collected amount for a single-firearm PPT $41.19.
- Protect yourself from scams with basic payment and identity common sense (keep this brief; no long fraud guide). Meet at the dealer, confirm the buyer matches their ID, and use payment that does not get clawed back after you hand the firearm over.
PPT through a CA FFL usually pays best because you’re selling to another end user, not to a reseller who needs margin. The catch is effort: you have to find a real local buyer, coordinate schedules, and deal with the usual no-shows and lowballing.
A local gun store offer is the cleanest exit because the store controls the process and you walk away quickly, but you’re selling wholesale. Many stores also push trade credit because it lets them offer more than cash while keeping dollars in their inventory.
For an out-of-area buyer, federal law generally requires the buyer to receive the firearm through an FFL in the buyer’s state. A non-FFL can ship a firearm to an FFL for lawful transfer, but cannot ship directly to an out-of-state non-FFL buyer. Keep shipping high-level: confirm the receiving FFL’s requirements first, including whether they accept shipments from nonlicensees and what transfer or handling fees they charge. If you want a remote buyer example, a breakdown of your selling options can help you compare the tradeoffs before you commit.
Decide what you’re optimizing for (cash, speed, or simplicity), then choose the route that matches and confirm fees and requirements before you shake hands (and review liability considerations when selling to a stranger if you’re leaning toward a private-party buyer).
Step 5
Whichever selling route you choose, most of what happens next is the same: you and the buyer end up at a California FFL, and the shop runs the transaction. When people describe a “bad transfer,” it’s usually just a missing document, a misunderstanding about timing, or a dealer policy surprise.
This step is a predictable, dealer-run errand. Follow the shop’s flow, bring what they ask for, and you avoid almost all drama.
In California, a private party transfer has to run through a California-licensed dealer, so the counter process and the dealer’s policies drive the timeline. Your job is simple: show up prepared, let the dealer do the compliance work, and stay patient while the state’s clock runs.
- Schedule with the California FFL and confirm they’ll process your type of transfer.
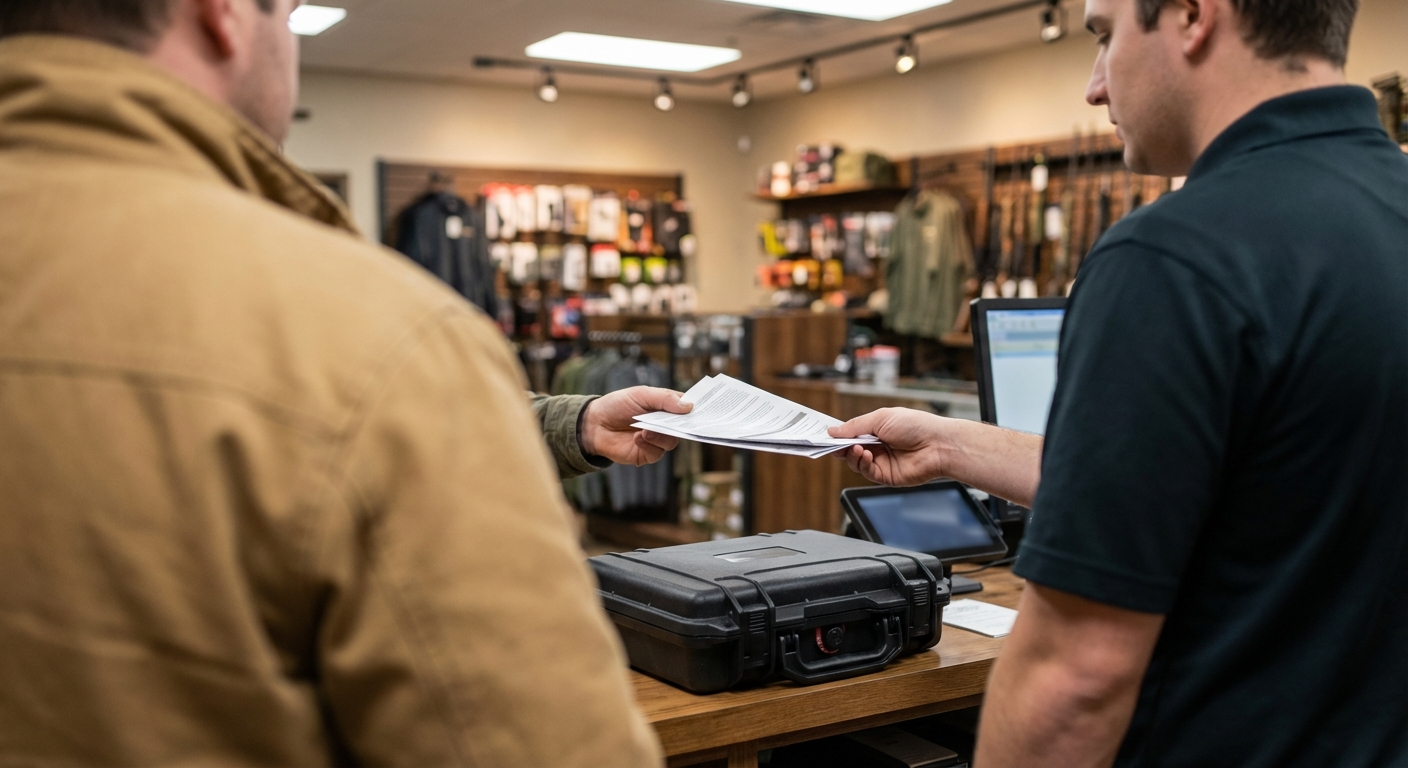
- Bring the firearm in for intake (arrive with the basics; keep transport details brief). Before you leave it, get clear confirmation the dealer has accepted it for transfer, and ask what paperwork or receipt you’ll get for your records.
- Complete the counter paperwork with the buyer present (buyer fills out ATF Form 4473; dealer runs the required checks). The 4473 is completed by the firearm purchaser or recipient and it’s used in connection with the background check process, so expect the dealer to control the pace and verify the buyer’s info carefully.
- Start the DROS (Dealer Record of Sale) so the clock begins. When the dealer submits the DROS, that submission is the anchor time that kicks off the processing workflow and starts the waiting-period clock.
- Wait out the full 10-day/240-hour waiting period, no early pickup. California’s waiting period is a minimum of 240 hours from DROS submission, and the firearm cannot be delivered before the full 240 hours elapse even if everything comes back sooner.
- Confirm what happens next: buyer pickup process, and what the dealer will do if the buyer is delayed/denied. If the buyer’s timing is off because of “1-in-30,” the dealer may not be able to start a DROS that day since the 30 days generally runs from the date and time the prior DROS was submitted. If the buyer is denied in a PPT, California law requires the dealer to return the firearm to the seller, and any storage, return steps, and fees are dealer-specific.
If the buyer gets delayed or denied, don’t guess; ask the dealer exactly how retrieval works for sellers at that shop. California Penal Code 28050 requires the dealer to return the firearm to the seller if the buyer is denied in a PPT, but the dealer’s handling and fee policies can still vary.
Anchor your expectations to the DROS submission time, keep your paperwork and receipts, and ask the dealer up front how they handle delays or denials (especially in private party transfers versus dealer-facilitated transfers).
After the Sale Checklist
After the counter visit, the last thing you want is to be left with a fuzzy “I think it’s done” feeling. This is the part where clean documentation matters more than anything, because it’s what you’ll rely on if questions ever come up later.
Once the firearm is out of your hands and the dealer-run transfer is in motion, your focus shifts from the 240-hour wait you already dealt with to one thing: clean proof. That paper trail is what protects you if questions pop up later.
Most post-sale headaches come from simple gaps: no confirmation that the transfer actually completed, payment that never truly cleared, or a missing receipt when you need it. The other common stress point is not knowing if you should tell DOJ you no longer have the gun.
- Confirm the transfer is complete and your payment cleared.
- Save your receipt/transfer paperwork and any dealer communication.
- Record what you sold (make/model/serial) in a private, secure place.
- Decide whether to file NLIP for extra peace of mind (often optional after DROS).
- Get an appraisal-style opinion for collections or unusual items before you accept a quick offer.
If you want a simple way to tell DOJ you do not have it anymore, NLIP (Firearm No Longer in Possession), BOF 4546, can be filed in CFARS, even though after a dealer-processed transfer it is generally optional because the dealer’s DROS submission updates DOJ records.
Keep your proof, consider NLIP if you want the extra paper trail, and slow down for collections or oddball items-those are where rushed sales go sideways. And if you’re trying to avoid the “meet a stranger in a parking lot” problem from the start, the cleanest through-line is the same one from the first step: route the sale through an FFL, follow the shop’s requirements, and let the dealer-run process do what it’s designed to do.


")


")